方案一:利用ssh的config文件来管理SSH回话以及快捷登录
- 在
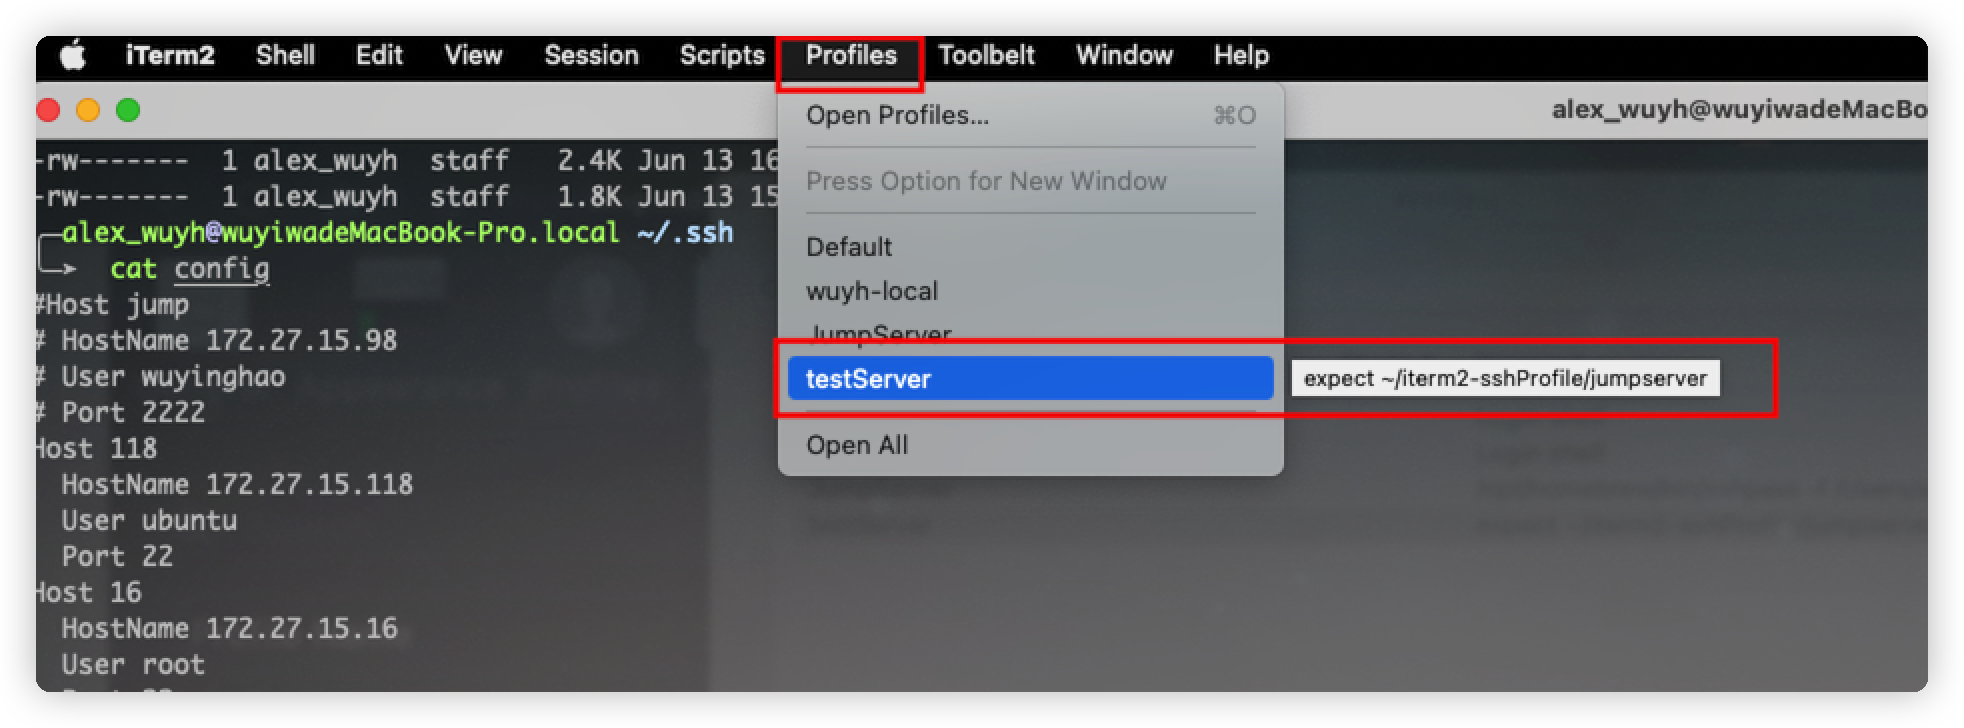
~/.ssh/目录下新建config文件,并按如下格式分别添加需要保存的SSH会话:

- 在连接ssh时可以直接使用别名来登录,但是仍需要手动输入密码

方案二、expect + iterm2
- 找一个目录创建一个
expect脚本文件,内容如下:
 1
 2
 3
 4
 5
 6
 7
 8
 9
10
11
12
13
|
#!/usr/bin/expect

set PORT 22
set HOST xx.xx.xx.xx
set USER xxxx
set PASSWORD xxxxxx

spawn ssh -p $PORT $USER@$HOST
expect {
        "yes/no" {send "yes\r";exp_continue;}
         "*password:*" { send "$PASSWORD\r" }
        }
interact
|
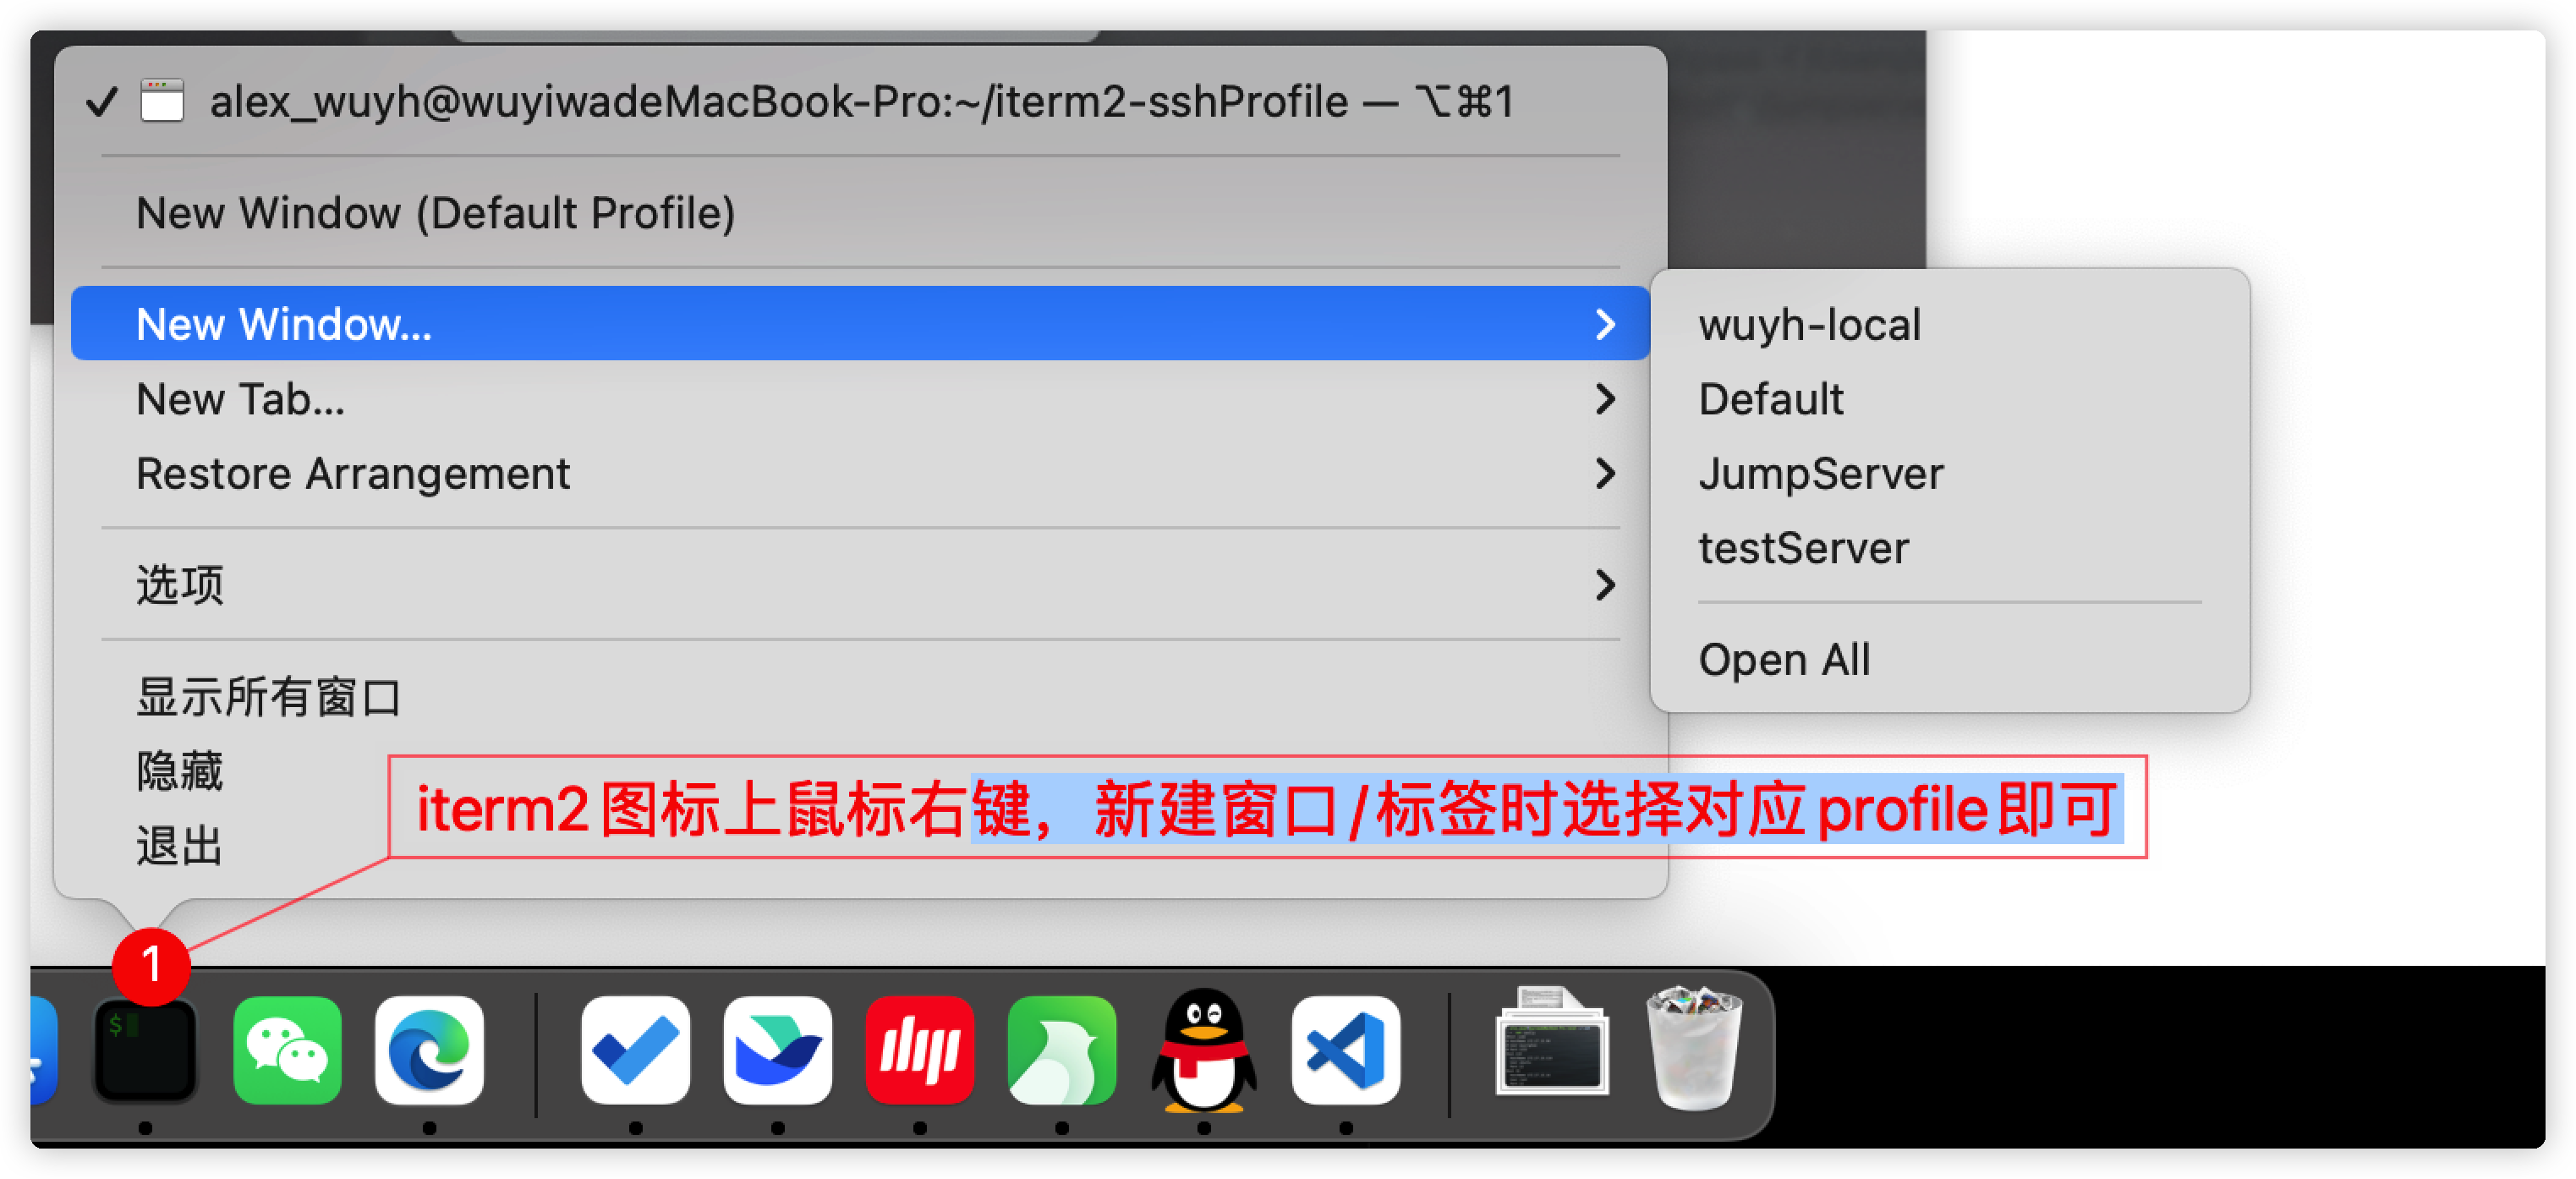
- 进入iterm2–>preference–>profiles,新建一个配置标签,内容如下:

- 然后再iterm2中新建中断时选择该profile即可自动登录打开回话


方案三、sshpass免密登录
安装sshpass
- brew安装sshpass
1
|
brew install http://git.io/sshpass.rb
|
- 在较新版本的MacOS中直接使用brew安装可能会提示不安全,并且拒绝安装时,可以通过把
sshpass.rb下载至本地后再安装的方式解决:
1
2
3
|
wget https://raw.githubusercontent.com/kadwanev/bigboybrew/master/Library/Formula/sshpass.rb

brew install sshpass.rb
|
sshpass.rb文件内容如下,为了防止github因为和谐不可访问的情况时使用(新建一个文件输入下面的内容后,再按照上面的方法安装即可):
 1
 2
 3
 4
 5
 6
 7
 8
 9
10
11
12
13
14
15
16
17
|
require 'formula'

class Sshpass < Formula
  url 'http://sourceforge.net/projects/sshpass/files/sshpass/1.06/sshpass-1.06.tar.gz'
  homepage 'http://sourceforge.net/projects/sshpass'
  sha256 'c6324fcee608b99a58f9870157dfa754837f8c48be3df0f5e2f3accf145dee60'

  def install
    system "./configure", "--disable-debug", "--disable-dependency-tracking",
                          "--prefix=#{prefix}"
    system "make install"
  end

  def test
    system "sshpass"
  end
end
|
sshpass + alis别名实现命令行中快捷的免密登录
- 在
~/.zshrc中添加alias:
:::info
因为我的shell使用的是zsh所以是修改.zshrc文件,如果是使用的bash则是.bashrc
:::
1
2
|
## 替换下面的用户、密码、IP以及别名为你自己的
alias sshyourhost="sshpass -p "YOUR_PASSWORD" ssh -o StrictHostKeyChecking=no YOUR_USERNAME@YOUR_HOST
|

- 执行
source ~/.zshrc,使配置的别名生效

- 在终端命令行中直接输入你设置的别名(例如:
sshjump),即可快捷免密的连上服务器

sshpass + iterm2的Profile实现快捷登录
- 进入iterm2–>preference–>profiles,新建一个配置标签,内容如下:

1
2
|
## 替换{}为实际环境对应的值
/opt/homebrew/bin/sshpass -p {password} ssh {username}@{ip} -p 22
|
为了防止使用ps命令时密码可见,可以使用-f参数从一个文件中读取密码(方法如下):

1
2
3
4
5
6
7
8
|
## 创建一个存放密码的文件:password
touch password

## 往文件中写入密码
echo "xxxxx" > password

## 替换{}为实际环境对应的值
/opt/homebrew/bin/sshpass -f {password文件的完整路径} ssh {username}@{ip} -p 22
|


